Thursday, June 30, 2016

Mama Bear Cleaning Hack No. 23 - Removing Sharpie


Looong story short:  Kitten had a litter box accident... Mama Bear was cleaning it up... Toddler found a Sharpie on Papa Bear's Desk... Toddler colored Mama Bear's favorite WHITE chair to resemble a zebra! Note to self: perhaps I should limit the amount of Zou episodes she watches...and stop referring to myself in the third person.

I was not on my game enough to snap a picture of the zebrafied chair but I did remember to snap an after photo so I could share with you my favorite Sharpie cleaning tips!

For marks on walls and wooden surfaces - Grab a tube of regular toothpaste, not the gel kind, and gently rub into the marks until they are no longer visible and the paste has turned grey.  Next grab a damp white rag and remove the paste.  Your stains should be gone and the air will be minty fresh! *Note: I would not do this on painted furniture, it doesn't seem to bother the stained pieces but I think it may leave a dull/ matte spot on painted furniture... all of my painted pieces are black so you can't see the Sharpie!

Today this Sharpie masterpiece was on my super comfy, beautifully modern desk chair which is white plastic!  First I did the toothpaste trick and it removed only some of the Sharpie leaving the marks a dull purple color... not good enough.  Next, I gabbed my trusty Clorox Bleach Pen, baking soda and an old toothbrush and carefully made a paste which I then scrubbed into the marks and after 20 minutes of careful scrubbing they were gone and my chair is whiter than a polar bear!

Luckily, I haven't had to remove Sharpie from any colored plastic surfaces but I have read that rubbing alcohol will work... if you've tried it let me know in the comments!

Thanks for stopping by today and please share your Cleaning Hacks with me in the comments below!

Thursday, January 22, 2015

Spending Freeze

Our life is a little bit crazy right now.  My husband is changing jobs and that means we will be without a solid paycheck for a little over a month... a challenge was issued that I needed to not spend unless necessary and try to limit my driving to save on fuel and the chance of some dumbass sliding into me in the snow!  If you know me at all you know the following... My stress relief consists of the following... letting Ally (my car) air our her twin turbos on back country roads and mindlessly wandering around TJ Max and Target... I CANNOT avoid the Target clearance sections (seriously it is a problem)... I have fears about not having enough money and so I "squirrel away" certain household items (the clearance section helps fuel my hoarding collecting)... I am also not afraid of hard work or a challenge and I am very competitive in some ways (mostly with myself).

I have not given up on my new monthly goals and Care is still my word for this month, it has just taken on some new meanings for me... I need to care for my family in the best ways I possibly can for the next little bit... I need to care enough about all of our health and nutrition to make sure that they have good healthy meals and a clean living environment.  I need to care about our financial health and NOT BUY TARGET CLEARANCE ITEMS, this means I need to use up what I have hoarded. 

I am trying to follow the example of fellow blogger Jen of Balancing Beauty and Bedlam who talks about her annual month long no spend kitchen challenge.  To do this I have done the following:

1.  Cleaned out and organized my pantry and freezer
2.  Taken an inventory of what is there and what meals I can easily make with what I have
3.  Set aside a set amount of money to do one final shop before the spending freeze (I don't have a deep freeze so my meat stash was not up to the task of carrying us through)
4.  Set aside a set amount of cash for purchasing dairy, fruits and veggies during this time
5.  Composed a list of things I can do for stress relief instead of going on drives and shopping... this is really important because I NEED to break this horrible clearance habit... just because a lipstick only cost me a $1.67 doesn't mean that I needed it or that it doesn't make a little nick in my bank account.

Pantry Cleaning and Organization... I told you I have a problem

Today is Day One... I have spent the last week preparing for this.

This is a big change for my husband and involves a family business, needless to say there are hurt feelings and heartache happening... if you could send positive thoughts and prayers our way we would truly appreciate them.

Monday, January 5, 2015

Slap Yo' Mama Good Cookies

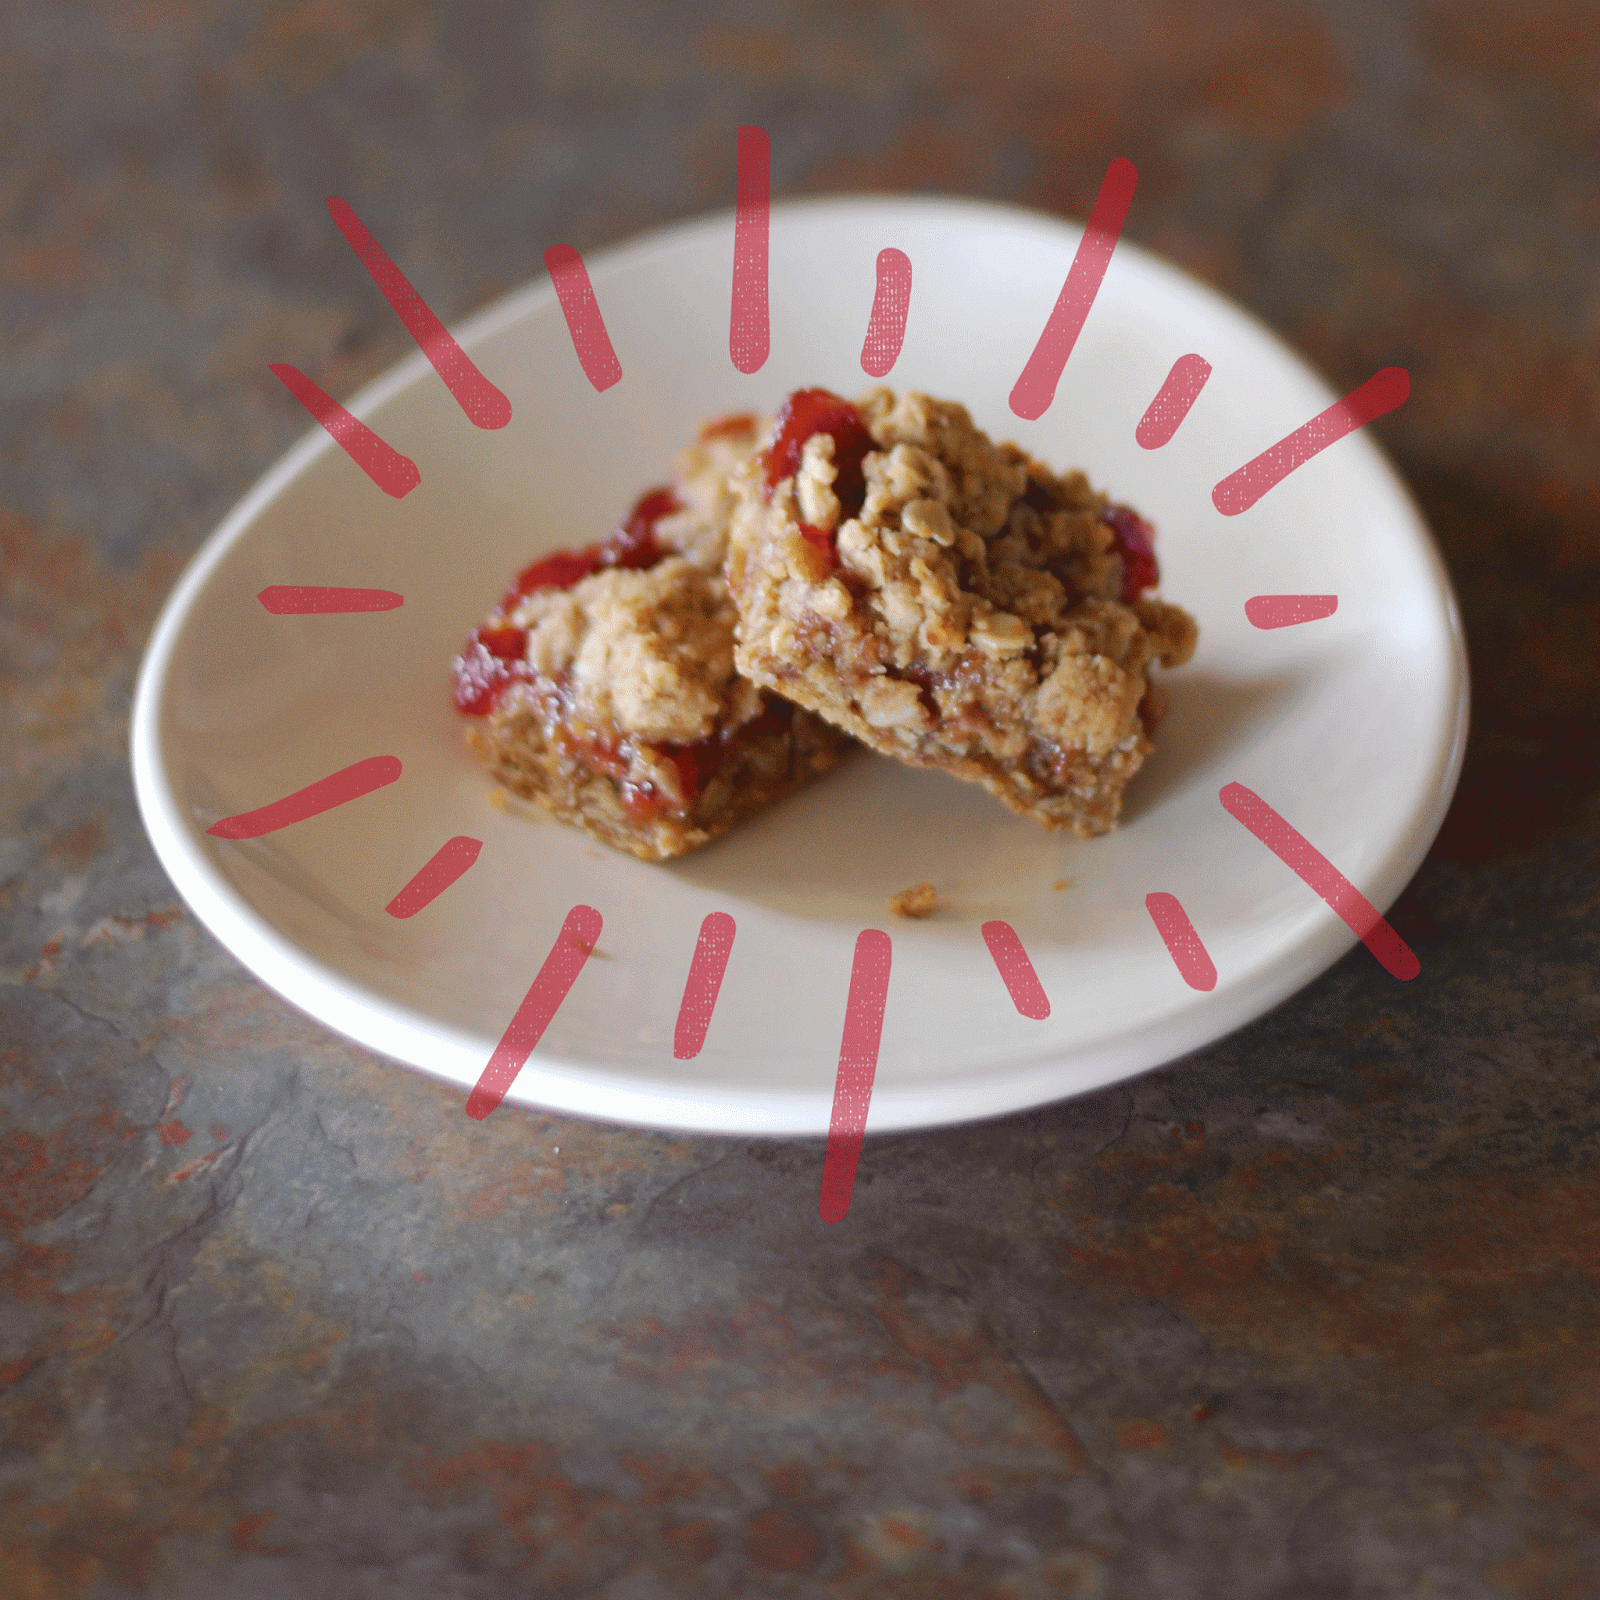
PB&J Bars
 
Just stopping in with a recipe this morning... but this is no run of the mill recipe this one is my own personal twist on lactation cookies and it is slap yo' mama delicious... my picky husband begs me to make these* weekly and our dogs will go to great lengths to get ahold of these mouthwatering bars!

Peanut Butter and Oat Lactation Bars
 
1 1/4 cups Unbleached flour
1 cups Whole wheat flour
1 1/2 cups Old fashion oats
1/2 tsp Salt
1/4 tsp Baking soda
3/4 tsp Baking powder
2 rounded tbsp. Brewer's Yeast (I buy the "debittered" at Vitamin Cottage)
1/3 cup Flaxseed meal
1/3 cup + 1 tbsp. warm water
3/4 cup Coconut oil (I use refined as it doesn't taste like coconut)
2 firmly packed cups Brown Sugar
3/4 cups Peanut butter
1 large egg
2 tsp vanilla
- Preheat the oven to 350 degrees. 
- Grease a 9x13 pan (or use parchment paper to line it)
- Mix flaxseed meal and water together in a small bowl and let it sit for 5 minutes
- Combine flours, oats, baking soda, salt, baking powder and brewer's yeast in a large bowl
- Combine coconut oil and brown sugar in the bowl of a mixer and cream together, when they are well combined at in peanut butter, egg, vanilla and flax seed mixture
- Slowly combine the dry ingredients into the wet and only mix until combined
- The batter will be super thick, dump into the pan and press out flat with your hand
Bake for 25-35 minutes until it is lightly browned (baking time varies depending upon what you add in)
 
Let cool in pan and then cut into bars!
Enjoy 3 or more per day to boost milk production if breastfeeding!

Yummy add-ins
 
PB&J Bars - Follow the recipe above but divide the dough in half and pat only half of it into the bottom of the pan.  Next spread 1 1/2 cups of your favorite jam over the dough (if you heat it in the microwave for 30 seconds it is easy to spread)  then crumble the rest of the dough over the top without pressing down.  This variation takes the longest to bake! *These are the ones my family begs me for!
 
Chocolate Chip - simply sprinkle onto the batter before you press it into the pan... my favorite are the mini dairy free variety from Whole Foods, they just seem more chocolaty to me.
 
Dark Chocolate & Pecans - 1 cup of dark chocolate chips & 1/2 cup chopped pecans sprinkled onto the batter before you press it into the pan
 
Cranberry & White Chocolate - 1 cup of craisins & 1 cup of white chocolate chips (add in pecans too if you enjoy them)

NOTE TO HUSBANDS:  These will NOT make you lactate... they are just healthy and the combo of flax, oats and brewers yeast boosts the milk production of breastfeeding mamas!  The flax is awesome for your heart health with Omega-3s and brewer's yeast contains B vitamins and protein.

Thursday, January 1, 2015

New Year, New Choices, New Blog

Yeah, yeah, I know this blog title is really close to my old one but I have had so much trouble connecting it with my new accounts that I decided to take that as a sign that I should start over... clean slate and all that. 

Speaking of clean slates.. this is a whole new year!!! I am truly excited about this.  I'm not sure why it is making me so giddy, I have never felt this way about a new year before but this time around seems different, special in a way.  It may be that I'm older, it may be that I don't care any more what others think, it may be because the whole year is just wide open... there is no specific date that I am waiting for like last year and the arrival of my sweet Little Bean... so the year seems like a beautiful blank canvas stretching out before me!

Each new year, for many years now, I have chosen a word for my year... the One Little Word concept that is so popular with creative types like myself... for the past few weeks I have been mulling over what my word was going to be this year.  I just couldn't settle on one that encompassed all I want to accomplish/ hold myself accountable to do, then I was inspired by my friend Arleigh (who is always inspiring me or teaching me new things, I am really very fortunate to count her as one of my dearest friends).  Arleigh does not set goals for the whole year, she sets goals for each month.  This got me to thinking and I decided that I wanted to pick a word for each month.  I would choose it before the month began and write down what exactly that meant word was to encompass for the month.  I have even chosen my first few words!  Then yesterday morning it dawned on me that my word to encompass my whole year was Choose... for me this means the following:

I will choose what I want for myself.  This means that no one else's bad mood, anger, or rudeness is going to dictate what I do or how I approach my day.  I will choose not to live to please others but live to make my life the best it can be... even if that means pissing people off sometimes.

I will choose how I want to approach each new situation.  This means that if I feel afraid I will remind myself that I get the choice of how this effects me and that I will not let the fear stop me from making the right choice for me.

I will choose how I respond to others.  This means that I will not sheepishly sit by and give others the power to dictate my mood with their mood... I will say what I feel and I will own who I am.  I will respond to others with honesty and choose kindness, fairness, and empathy and compassion if I want to... If the situation dictates that I want to choose anger, blunt honesty and brute force then I will do that to!  No matter what I will own my response.

Basically, I will choose to live consciously and take full accountability for all outcomes from my choices!

Okay, so that is my OLW... my MOWL for January is going to be Care.  This means that I will take care of things that I tend to neglect the most... number one being myself and number two being my home. 

In regards to self care I will choose to take the time to care for my insides with healthy nutritious meals and proper hydration, regular self massage to promote better healing for my abdomen, and allow myself to rest when my body cries out for it.  I will choose to take care of my external self with regular exercise, grooming and beautification (I do love to do my makeup and really any style goes with my SAHM yoga pants).  I will choose take care of my mental and emotional self by allowing myself to feel, write, release, and create.

When it comes to caring for my home I am going to establish a regular weekly cleaning routine and try choose to stick to it.  Try really hard Choose to not just write it down and feel good about it for a week before I realize that I haven't done most of it... but try choose to follow it daily by making myself accountable here on the blog by posting it for all the world to see and then blogging about how I am choosing to do it and any new tips or tricks I have discovered... I already have a few homemade things to share in this regard.

Okay, that's it for now... I am choosing to go do what I said I would do! I will leave you with my new favorite quote from the infinitely wise Todd Chrisley (totally my new favorite show) "Stand up and speak your mind. If you piss the world off, they will get over it. At least they will know where you stand."

Tuesday, September 27, 2011

Padded Camera Strap Cover Tutorial *Updated*


Let me start by saying... I am just learning to sew; I am not an expert seamstress.

I have been wanting a padded camera strap cover for a long time and I finally feel confident enough with my sewing skills to try making one. 

I really only quilt so this whole "tutorial" is based on quilting-style sewing (if that makes any sense).

Supplies Needed:
-sewing machine
-matching thread
-beautiful outer fabrics (prewashed & pressed)
-solid lining fabric (prewashed & pressed)
-fusible batting (low loft)
-chopstick or knitting needle
-printer paper & pencil
-ruler
-scissors

Step 1:  Undo one side of your camera strap.

Step 2:  Fold the strap in half and trace the wide nylon part.

Step 3:  Using a ruler add 1/2"* lines around your tracing except where the fold of the strap was.
*When using a thicker batting add another 1/4" to all sides but the fold. Seen Below,
Step 4:  Cut the pattern out!


Step 5:  The fun step, choose your fabrics!  You will need front of strap, back of strap and a lining fabric. Cut a loooonnnggg strip of your outside fabrics and then fold in half, lay your pattern on top lining up the folds and cut.  You will measure the lining fabric after sewing the outer fabrics together.

Step 6:  Lay the outer fabrics together, right sides facing each other and sew along one long edge using a 1/4" seam.  Now press the seam toward the darker fabric.


Step 7:  Lay the outer fabric right side facing out on top of your fusible batting, cut the batting to fit and fuse with your iron.  (Follow the batting instructions carefully)

Step 8:  Lay your lining fabric on the opposite side of the batting and fuse.  Trim any excess lining fabric.


Step 9:  Run several lines of stitching/ quilting through your sandwich, I did this on my second strap and found that it was much easier to turn the strap right side out in the end!

Step 10:  Fold your short sides inward toward the lining a little less than 1/2"  Sew down through the outside to secure, I used a straight stitch at 1/4" and another a 1/4" from the first row of stitches right along the edge next to the lining. (Turned over to show detail in picture, it is just a cleaner look to go through the front of the fabric)


Step 11:  Fold the whole strap in half lengthwise with the outside fabric facing in and the lining out, secure with straight pins, sew a 1/4" seam along the open edge.

Step 12:  The hardest step.  Turn the whole thing right side out.  Use a chopstick, knitting needle, or like me a long paintbrush.

Step: 13:  Press the whole strap cover nice and flat again.

Step 14: Slide the end of the camera strap through the cover, I used a little painters tape and secured the strap to my long paintbrush and pulled it through.

Step 15:  Enjoy!

*Updated from the first post, I found just a few things (like more fabric and a little quilting) that made this strap even easier to work with than the first one I posted! 

If you make one of these comfy-cozy straps for your camera please link a picture in the comments, I would love to see it!

Wednesday, August 31, 2011

A New Crafty Adventure

Now that I've got my apartment mostly unpacked and set up, I wanted to get crafty but no matter how many times I pushed photos and bits around on a page I just wasn't feeling 'scrappy' so I decided that it was time to try something new... sewing!

My sweet Gram gave me a 'Fast & Easy' sewing machine for Christmas seven years ago; it has been used on lots of scrapbook pages but never with fabric and I thought it was about time that my sewing machine met some fabric!

So I did a little research online and found this really great blog (and Etsy shop) entitled Diary of A Quilter!  Amy Smart has designed some really amazing modern quilts and written a great step-by-step tutorial to get even the sewing challenged like me started quilting!  I'm hoping to tackle her 'Charm Pack Baby Quilt' in the next few weeks; since I do not have a baby nor know anyone who is expecting I think I may try to make this more of a throw blanket size for snuggling up on the sofa.  I chose this pattern because it required the least amount of cutting, the majority of the pieces are already cut for you by Moda!  (By the way, this is the same company that puts out BasicGrey, Cosmo Cricket and My Mind's Eye fabrics!)

To get myself motivated to sew I set up a little sewing center in my dining room 'den'...


Note the machine really is called the 'Fast & Easy' !

Here are the key components of my sewing center...

I bought a great book today that is written by Deborah Moebes and she actually wants me to love sewing! 
It's filled with lots of really useful information and great projects!  Click here to get your own copy of Stitch by Stitch.

Next I filled one of my favorite stack and lock containers with the sewing essentials I currently own... I see a trip to JoAnn's in my future, but in the meantime the machine instructions, thread, bobbins, needles and snips are handy!

I dug out my old iron... I guess we'll finally have to become friendly.

I made a trip to several quilting stores in my area to get inspired... I LOVE the yellow and grey bird fabric!
Here's where I went Holly's Quilt Cabin and Snappy Quilts, both are very cute shops!

And last, but not least, I changed out the needle on my sewing machine (probably a good idea after 7 years)
and set her all up with new thread and a freshly wound bobbin!

Now I'm off and running, hopefully I'll be back in the next few days with a little progress report!

Thursday, April 7, 2011

Cooking Crush


Photo courtesy of jamieoliver.com

I'll admit it, I have a HUGE crush on Jamie Oliver's food!  It's basic, simple, beautiful!

I made this lovely roasted chicken to rave reviews from Coleman, the self-proclaimed hater of all things chicken, unless of course it's fried in some way.  He gobbled this down!  The leftover potatoes and bacon bits would make a delicious frittata the next morning... that is if you have any leftovers :) 

Now when you read this recipe it seems a tiny bit odd, boiling a lemon, tossing the potatoes about in the hot pan after you drain them and then stabbing said boiling hot lemon but TRUST ME it will all make sense in the end and you'll be really glad you did the whole potato bit because the "chuffing up" make all the difference!

Side note: I tried to print the recipe from his website but it came out black with tiny grey lettering so I ended up having to copy and paste into a Word document, but this recipe is worth it, I know I'll be making it again over and over!